

You may wish to add a Warning to a record in OpenCRM. This may be used to draw particular attention to a record when it is visited.
You can do this either manually or you can automate Warnings using Workflow.
Adding Warnings Manually
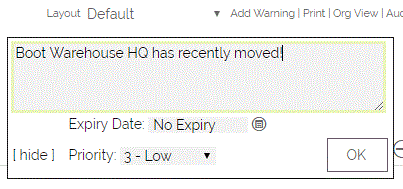
To set up a Warning, simply click on the "Add Warning" label in the top right hand corner when viewing a record in Detail mode.

This opens up a window where you can add the warning text, set a priority level and state when the warning should expire i.e. no longer be published:
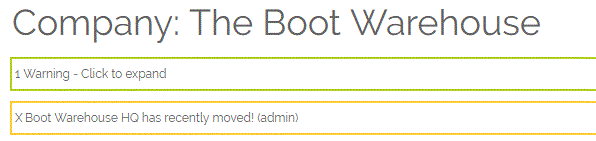
When the warning has been set, this will display across the top of the relevant record when in Detail mode, displaying the warning text added and showing in brackets which User has set up the warning:
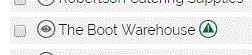
It will also appear in the module home with an icon displayed next to the name of the record:
To remove the warning before the expiry date, click the X that you can see at the start of the warning message. You will get a pop-up window which then asks if you are sure you want to remove the warning, simply click OK to complete this action.
Copying Warnings from Company to Ticket
It is also possible to have any Warnings you have displayed on a Company record appear on a linked HelpDesk Ticket.
If you remove the Warning from the Company record, it will also be removed from the Ticket. If you remove the Warning from the Ticket it will not be removed from the Company.
To enable this feature, simply go to Settings > Additional Settings > HelpDesk and tick the following option:

If you prefer to have your warnings auto-expanded, you can set this on a Company by Company basis. This selection will now be reflected on those Companies' Tickets.
- From a Company page, tick 'Auto Expand Warnings'.
- Create and save a HelpDesk ticket.
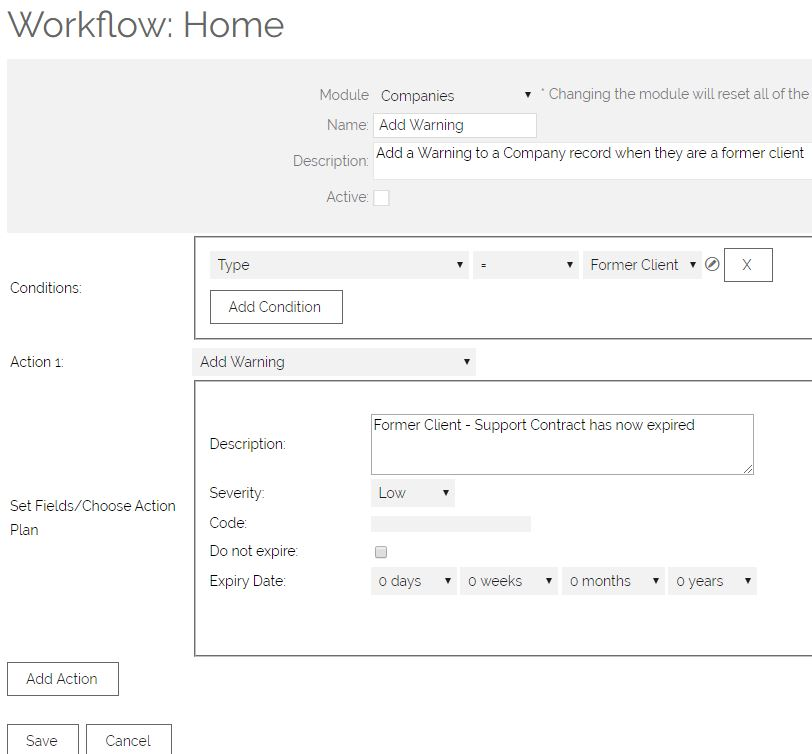
Adding Warnings via Workflow
You can add a Warning automatically, for example, if a Company Type has changed. You need to configure one (or more) triggers, and when these triggers are met, the Warning will appear on Save of the record. To access this area you need to be an Administrator. Access Settings > Workflow > Workflow Rules > enter YES on the pop-up disclaimer message > click on either New to set up a new Workflow or Edit on an existing example.
Need More Help?
If you have any questions, just start a Live Chat, "Click" on the Chat Icon in the lower right corner to talk with our support team.