

Prerequisites
You will need an OpenCRM system, and your user will need to be set as a System Administrator.
You will also need a Bubble Account and appropriate licenses assigned.
Initially, you can use the Test Connector to simulate a call, but for practical purposes and to be able to take advantage of the integration, you will need one of the approved Telephony platforms.
You will need the login details for your user account on your phone system.
A full list of approved phone systems is available here.
What we will be doing
There are a small number of things that you should do to prepare for the setup.
1. Check that you are logged into OpenCRM with a system administrator's account or your user account has the appropriate privileges.
2. To authenticate your user in Bubble you will need your OpenCRM user name, password and a CTi API key. Make sure that you have your user credentials on hand.
3. Create a CTi API key. This allows you to move through the guide smoothly.
4. Download the Bubble desktop software or log in to the Bubble cloud interface. You can use your Microsoft, Google or Apple service to login to Bubble.
First Step - OpenCRM Administration
Log in to OpenCRM and go to your Settings area.
Scroll down to the Integrations section and select the option for Bubble CTi Integration
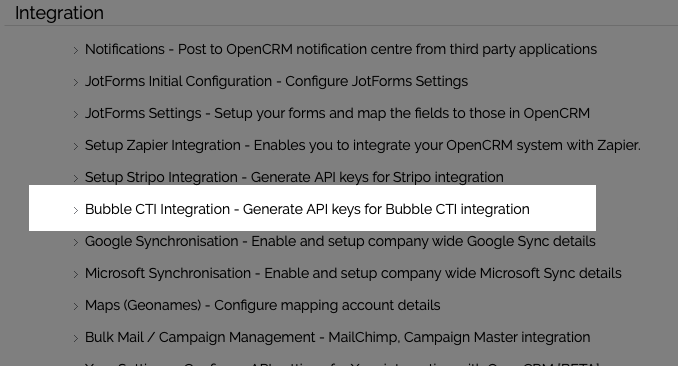
This will take you to the Bubble CTi API key creation screen.
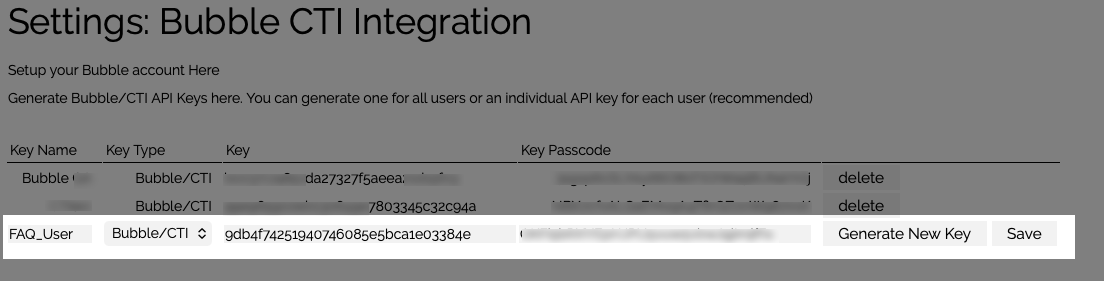
You will need to populate the Key Name field: use something that allows you to track where you are using this key.
The drop-down should already show the API Key type, and this is set to Bubble/CTi.
Select the Generate New Key button on the right of the row and then select Save. You will need to copy and paste the value that appears in the Key column to use when configuring the Bubble connector in a moment.
Note: You can create a separate API Key for each user, OR you can create a single API Key that you use for all Bubble users. Having a single API Key is the easiest to globally manage, but of course, if you were to disable this, all of your users would lose access to the integration until you provide a replacement for them. Having an individual API Key means that you can disable a single user's access.
Next Step - Bubble Configuration
There are a few steps to complete in the Bubble application.
1. First, select the CRM Connectors menu option and search for OpenCRM. Select the toggle to the right to enable this connector.
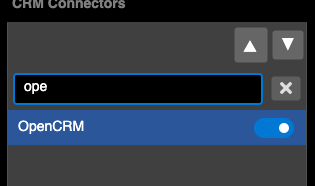
Once the connector is enabled and OpenCRM is highlighted, you will be able to enter the authentication credentials for your OpenCRM system.

The Base Url field is the URL for your OpenCRM system - this is the same URL that you use to log in.
Username : this is the username that you use to log in to OpenCRM - remembering that this field is cAse SeNsitiVe.
Password: this is your normal password used to log in to OpenCRM with your username.
API Key : This is the API Key that you set up in OpenCRM above and copied.
Note on CTi API Keys.
CTi API Keys are limited in their functionality, as they only allow access to the OpenCRM endpoints needed for the integration to work. This restriction makes them less functional and more secure as they are likely to be shared with or visible to your users.
Once you have entered the details, you should select the Verify button to confirm that your log in credentials have been verified.

Once verified, you can select to Save these details.
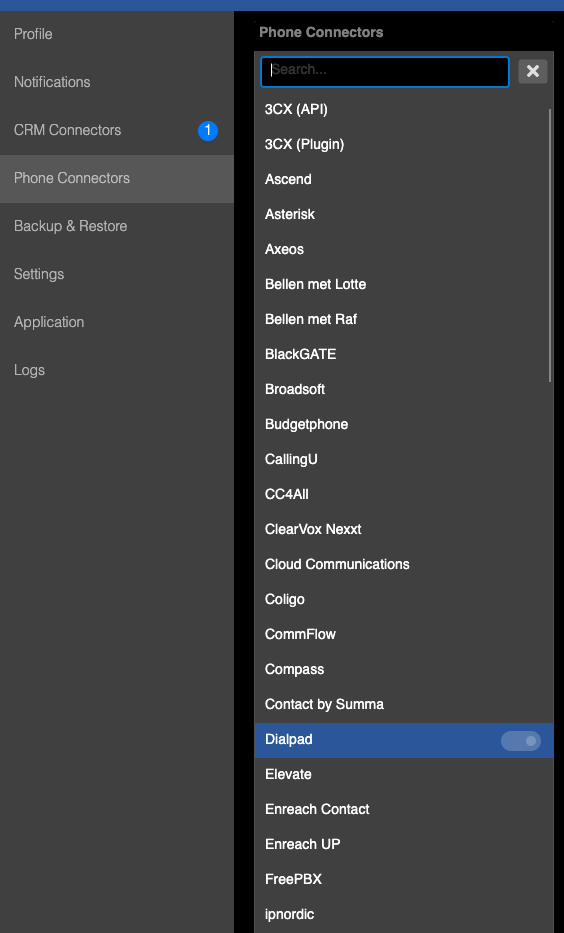
2. Next select the Phone Connectors menu option.
Search for and select the Phone system you use. Once selected, you should confirm that the toggle on the right has been enabled.
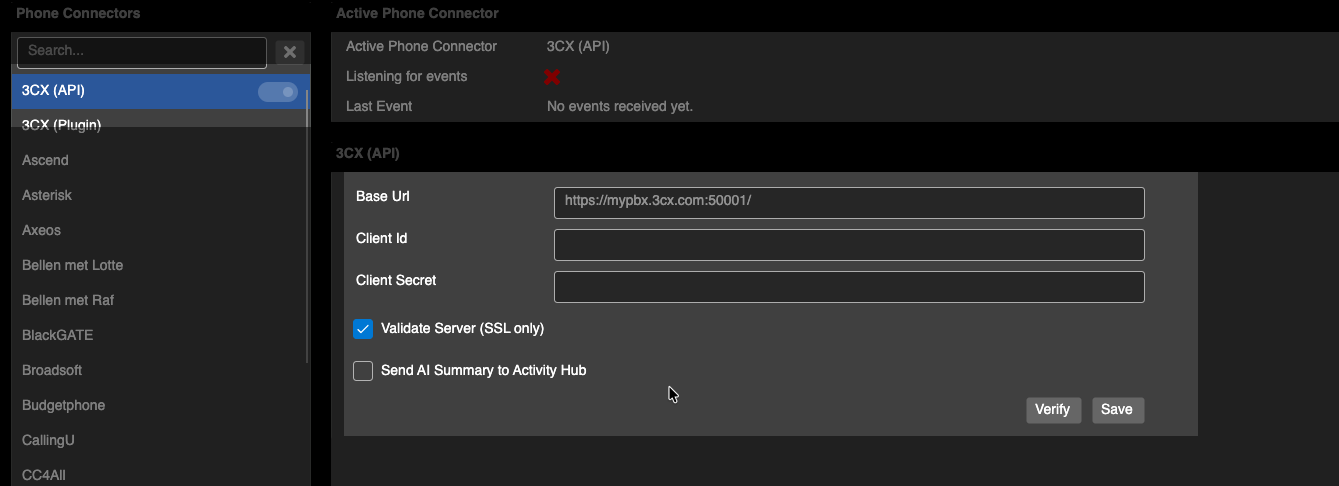
On the right of the screen, when your phone system is selected, you will see the fields to complete for the authorisation with your phone system. This will be different from phone provider to phone provider. You should be able to get these details from your phone provider or your phone system administrator. The following screen is an example of the type of details you may require.
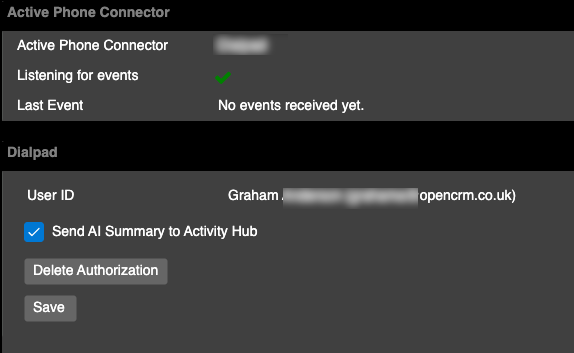
Once you have logged into your phone system, you should see that the connector is Active and listening for events from the phone system. These events are inbound/outbound calls.
3. Notifications window
This is the pop-up that is triggered when a call is active. You get to this section by selecting the Notifications menu item.
There are three main sections to configure around the Notifications.
a) The Pop-up settings
You can select where you want the pop-up to appear. If you have multiple monitors, you can select the Primary display OR a specific screen. You can hit the Identify Screens button to be sure you are selecting the correct display.
This also allows you to set when the call timer starts, which is important as the call duration will be recorded on the activity in OpenCRM if you have notes configured.
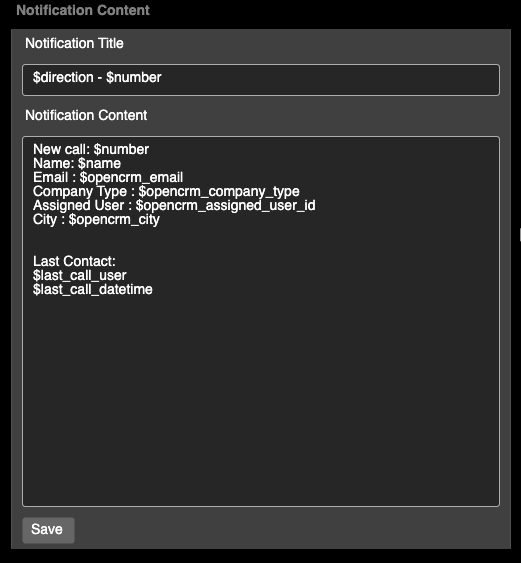
b) Notification Content
This is where you configure the information that appears in your pop-up. By default, this shows the direction of call and the telephone number calling if this is displayed and not withheld. A full list of available fields can be found by selecting the Legend button. An example of what you can display is shown below.
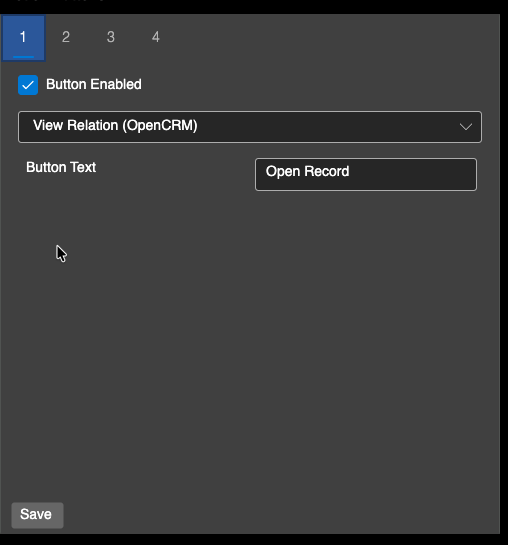
c) Action Buttons
This allows you to customise buttons that appear on the pop-up window. The following screen shows an example where the button will open the matching record from OpenCRM for the calling party.
Note-taking in Bubble
The last part of the setup allows you to enter a note within the Bubble interface, which will be posted across to OpenCRM, creating a new Activity with call details and the text that you enter.
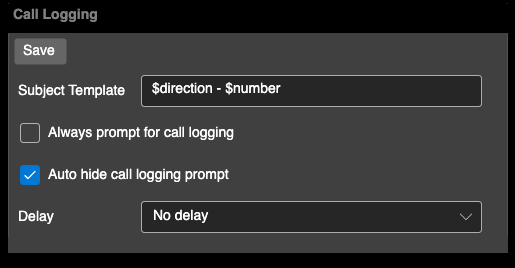
Under the Settings menu option, you have a section called Call Logging. The Subject Template field is what will be written to the Subject in OpenCRM. By default, the text that you enter in the Note body will be written to the Activity Description in OpenCRM. The Activity Type will be set as Call, and the duration of the call will update the Activity Duration also. This Activity will be linked to the associated record in OpenCRM.
Summary
If you follow these steps, you should be able to take inbound/outbound calls and present the pop-up with dynamic data from your OpenCRM system.
Need More Help?
If you have any questions, just start a Live Chat, "Click" on the Chat Icon in the lower right corner to talk with our support team.