You can access Activities, Leads, Contacts, Companies, Opportunities, and Projects from the App.
Our mobile app is free to download and comes with part of your normal subscription. With it, you can control the data within your CRM directly from your mobile devices including managing contacts, companies, and your day to day activities.
This FAQ is going to walk you through:
- The steps you need to take to sign into the app (user permissions and secondary authentication)
- Getting your system ready for the app
- Getting the app ready for you
- How to navigate the app including using the module home, consult, and edit screens
Signing into the App
You use the same login details to sign in to the app as you do signing into OpenCRM. But there are two things that need to be done in OpenCRM before you can start using the app:
- Permissions enabled on your user account (by your system admin)
- Secondary authentication (by you)
Administrator permissions on your user account
Before you can sign into the app, your system administrator will need to go to your user record in Opencrm and click to give your user permission to use the app. They can do this by going to Settings -> User Management -> Users and clicking on your user record.
Once there, they will need to navigate down to the User Settings block and tick the "Mobile Enabled" tickbox. You will also need to set a 6 digit security code for that user (see the next section for where this comes in).

This is a security precaution that allows your system administrators the ability to select who can and can't access your company data outside of the office. And now it's time for your pre-access security step.
Secondary Authentication
The first time you login to the app, you will need to enter that 6 digit access key mentioned in the previous section. To find it, go to My Account (top right, just hover over your name) and look in the first block.
|
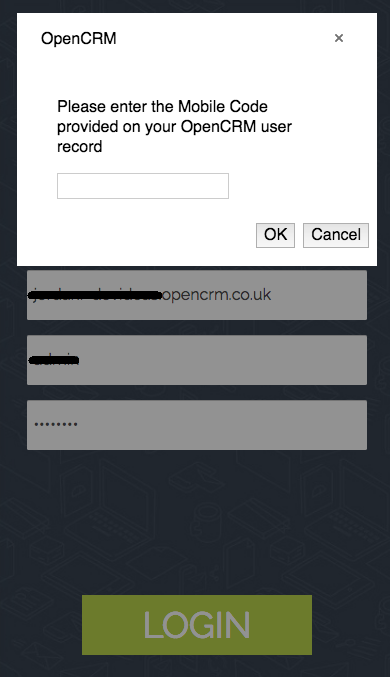
On the app login screen, simply enter your system name (the url of your system) and your normal username and password. |
 |
|
Once you click "Login" you will see the following popup where you will be asked to enter that 6 digit security code from the previous section |
|
|
You will usually only need to do this secondary authentication once on every device. |
|
|
If for some reason, your device has its local storage wiped, you will need to do this authentication again. |
|
|
This secondary authentication code is a security measure that effectively locks the API connection between your device and your system. |
App Settings
Now that you're securely logged into the app, it's time to start using it. But first, both you and your users have some controls and settings to consider.
System Settings
It is possible for system administrators and configurators to set which fields will appear in each module by profile.
This means that your sales team could see different fields than their colleagues in a customer service role.
To make changes, you will want to go to Settings and:
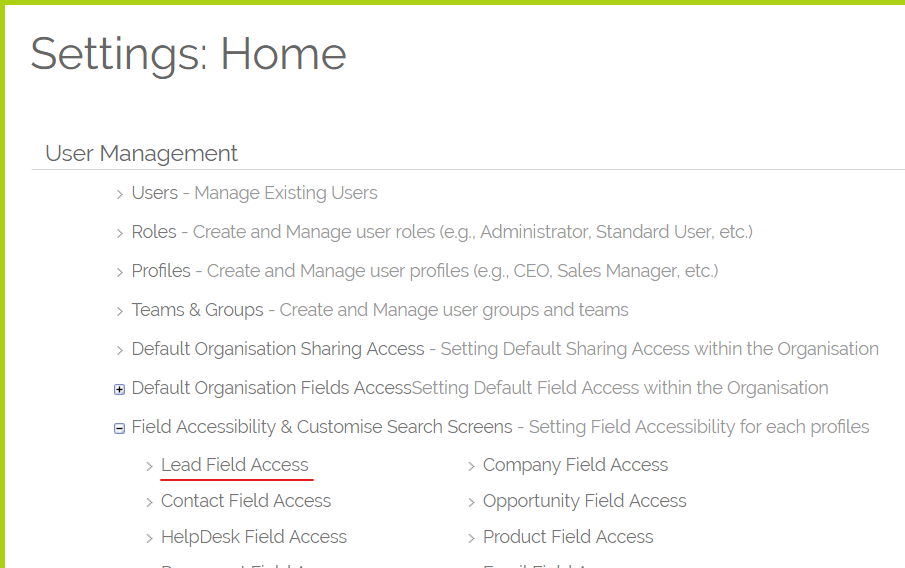
- Look for Field Accessibility & Customise Search Screens under the User Management block.
- Now select which module you wish to amend (I've chosen Leads for this FAQ because it was first in the list)
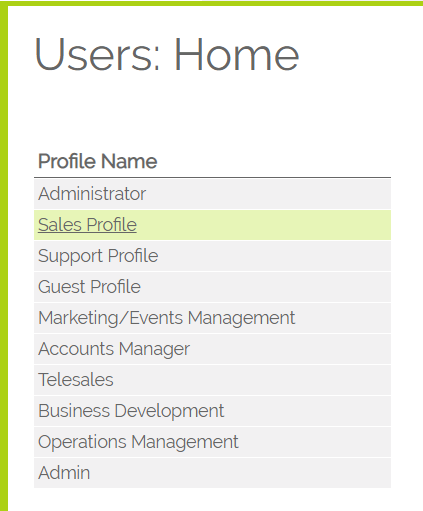
- Then select which profile you want to edit
- From here, you'll be able to see which fields are enabled on the mobile app for that particular profile
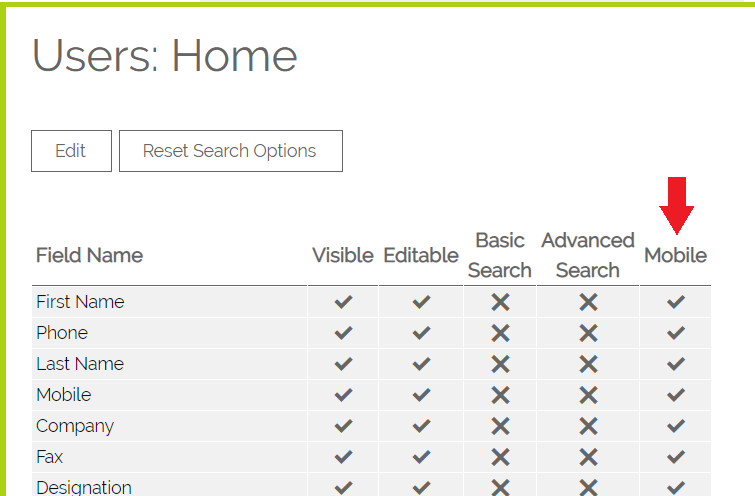
- Now you can simply click Edit, tick or untick the fields you want to enable or disable, and click save.
Easy as that. now the next time your users login to the app, they'll only see the fields you want them to see.
Note that certain field types (at present) are not available for viewing on the app. For more details see the list at the bottom of this FAQ.
Individual Users
|
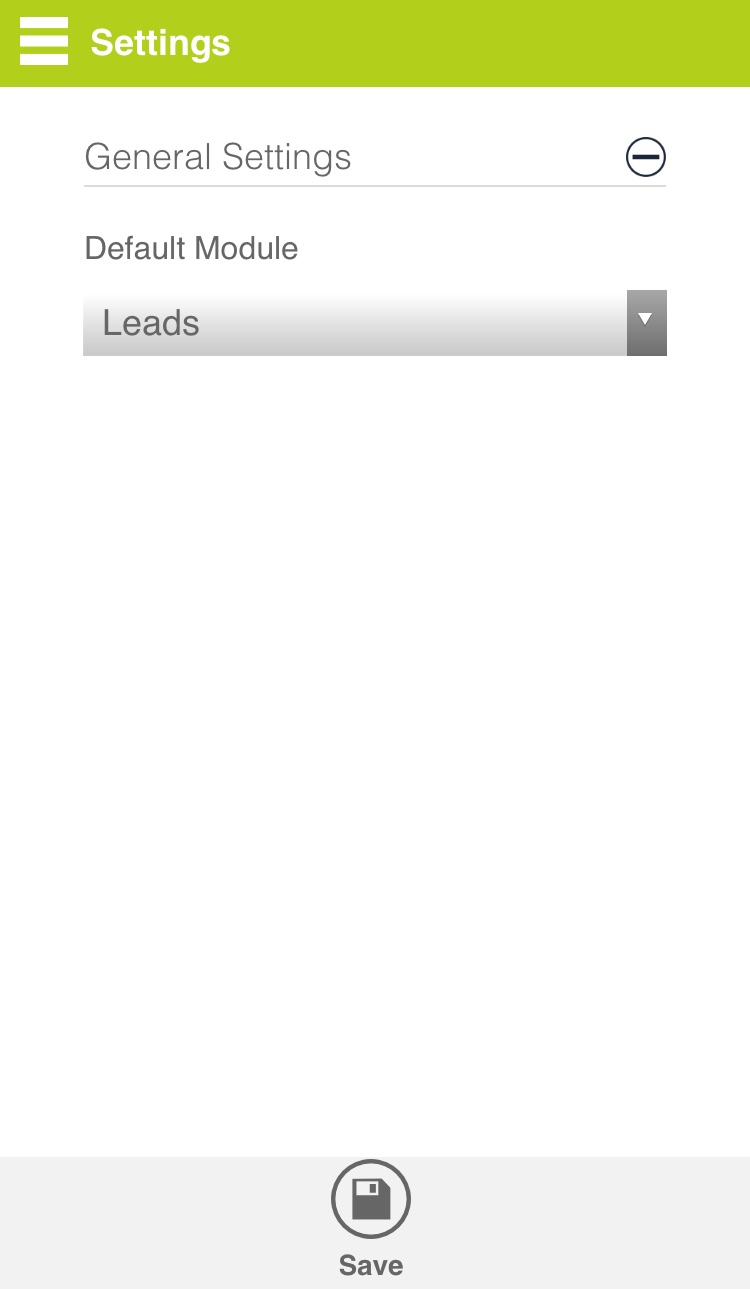
When your user's login to the app the first time, they will see a Settings screen that will allow them to set which module you would like to use as their "Home" module (you will see this module home screen first the next time you login). |
 |
|
At the moment, you can access Activities, Leads, Contacts, Companies, Opportunities, and Projects from the App. |
|
|
Your users can also choose whether to enable "Smart View" on every consult screen by default. Smart View means that only fields that have been populated (i.e. have data in them) will be displayed when you are viewing a record. All fields will be displayed when you are editing a record. |
Navigating the App
Navigating your way around the app is easy and should look familiar to you. To access the navigation, tap to hamburger icon at the top of the screen:

This will open a slide-out menu with 6 options on it:
 |
1. Home - tapping this will take you back to the module you defined as "Home" in your settings. If you haven't set a module, it will take you back to settings |
| 2. Jump To - tapping this will open a menu where you can select which module home screen you want to view next. | |
| 3. Quick Create - this will open a similar menu, but selecting a module will open a new record edit screen for that module | |
| 4. Last Viewed - tapping this will open a menu showing the last 10 records you have viewed, letting you easily hop around the records you are currently working with. | |
| 5. Settings - pretty simple this one, it takes you back to the Settings page. | |
| 6. and finally Logout - this will log you out of the app. Doing so clears your username/password, but NOT the system name. |
Using the Module Home Screens
When you are viewing the module home screens, the controls couldn't be simpler.
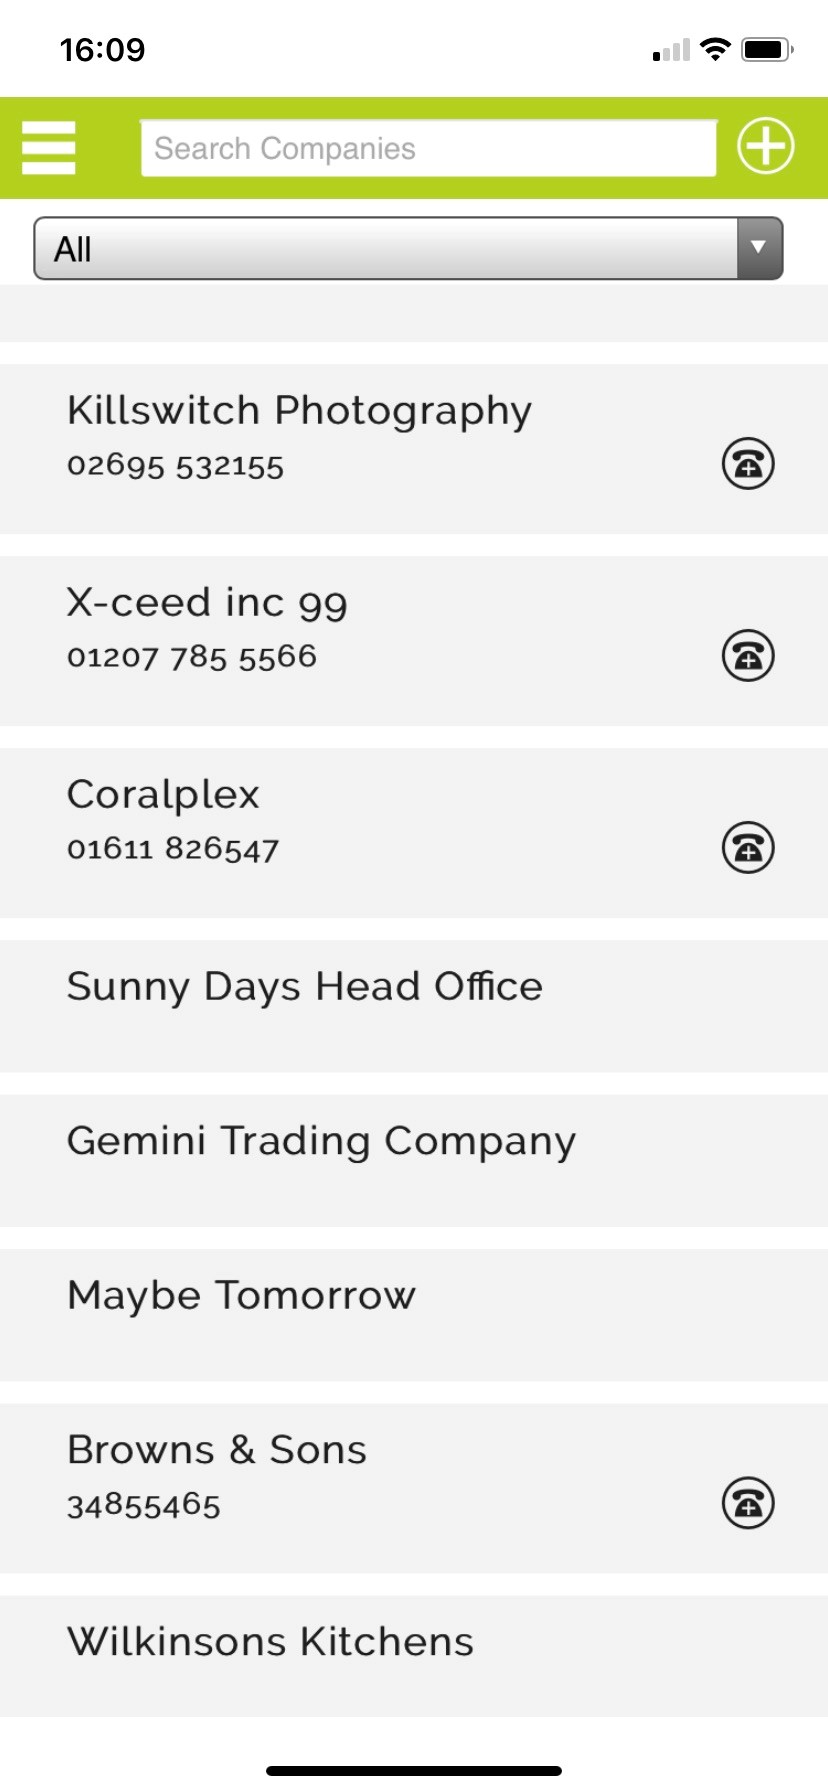 |
Starting at the top, you've got a search that lets you search ALL the records in that module that your user has permission to view. Just like with your OpenCRM system. Next to the Search box is a "Quick Create" button - this will let you create a new record for the module you are currently in. Just to save you having to open the sidebar when you're right in the middle of something. |
|
The default view is the Recent Items view. Future iterations of the app will allow you to change and customise this. You can scroll down the list just the way you scroll through your favourite social media application. |
|
| When you reach the bottom of the previously loaded records, the next 20 will automatically load. The time this takes will, as with any app, be affected by your current connectivity. | |
| Clicking on one of the record names will take you to the consult view of that record (see the next section for the controls that you see there). | |
|
In Leads, Contacts, and Companies, any records with phone numbers on their record will display this symbol.
Tapping this will allow you to place a call using your mobile device. |
How to use the Consult Screens
Just like with the module home screens, the consult screens on the OpenCRM app are easy to navigate and kept in sync with everything your team is doing in the office.
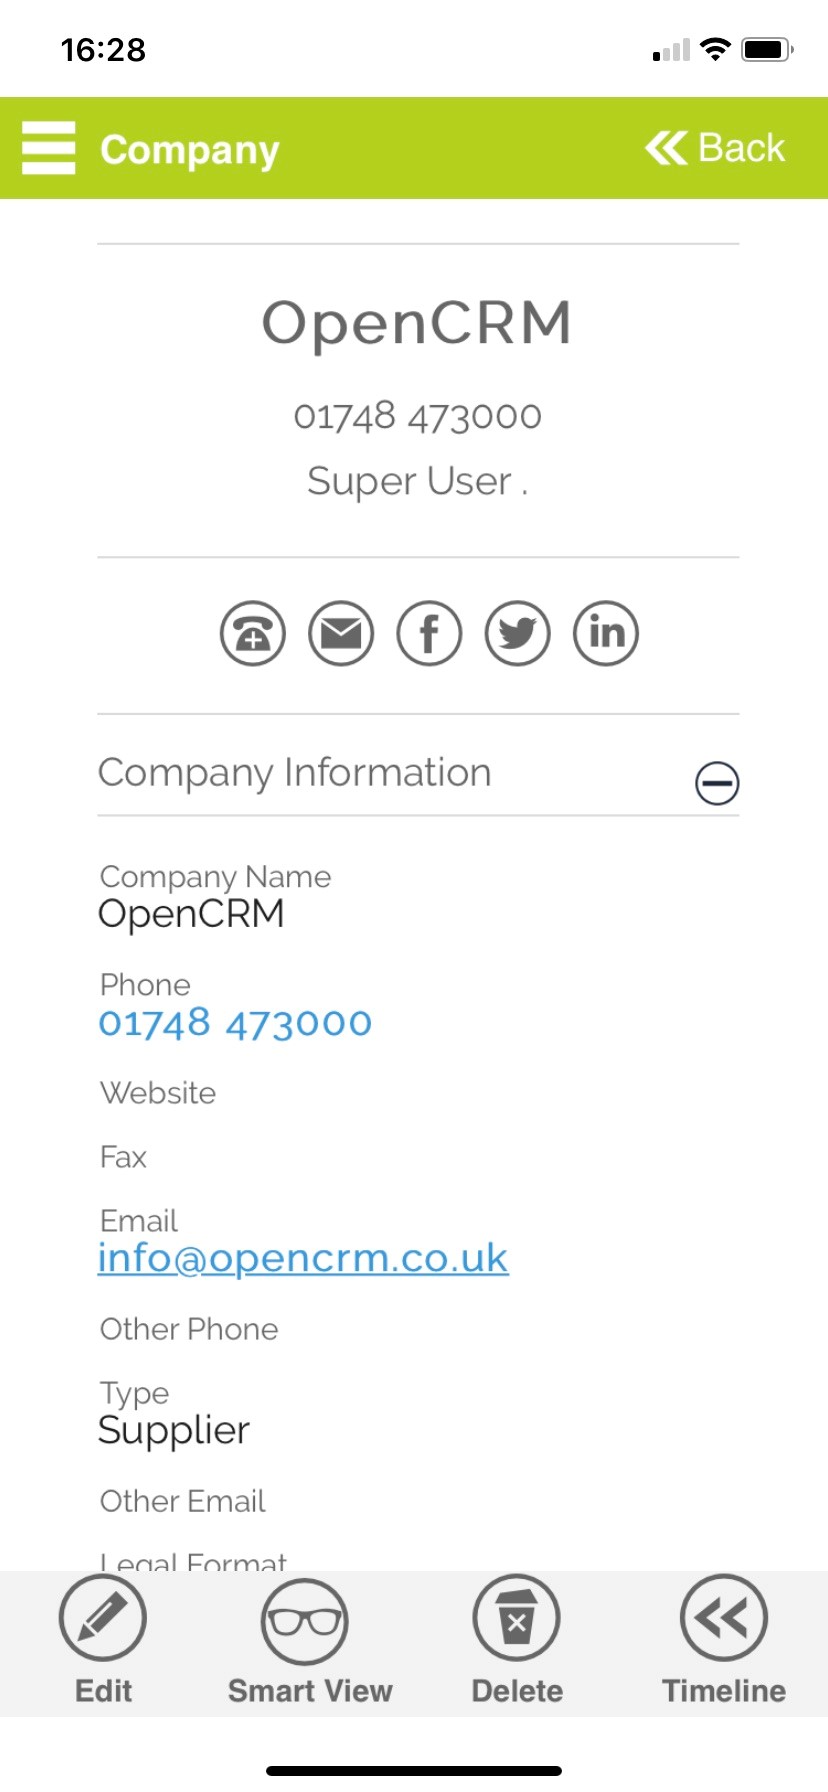 |
The controls here are also very straightforward. In the top right, you have the "Back" button, which will take you back to the previous record or page you were on. Heartbeat - these are the fields highlighted at the top of the record, they differ from module to module. Below are a series of Action Buttons - these will open the linked information in your native applications: Phone number - this will allow you to place a call, just like from the home screen Email address - tapping the email button will open a blank email to that address from your device's default emailing app Social Media - these will use the links you've added within the web version of OpenCRM and will open in the native app for your social media accounts |
|
|
|
|
Any field that is highlighted blue is a linked record, clicking it will take you to the consult screen of that record. Other information highlighted in blue will interact with other apps on your device: Phone number - this will allow you to place a call, just like from the home screen Email address - tapping an email address will open a blank email to that address from your device's default emailing app Website - this will open your device's default browser and take you directly to that page Postcode - tapping a postcode will open your device's default mapping app |
|
|
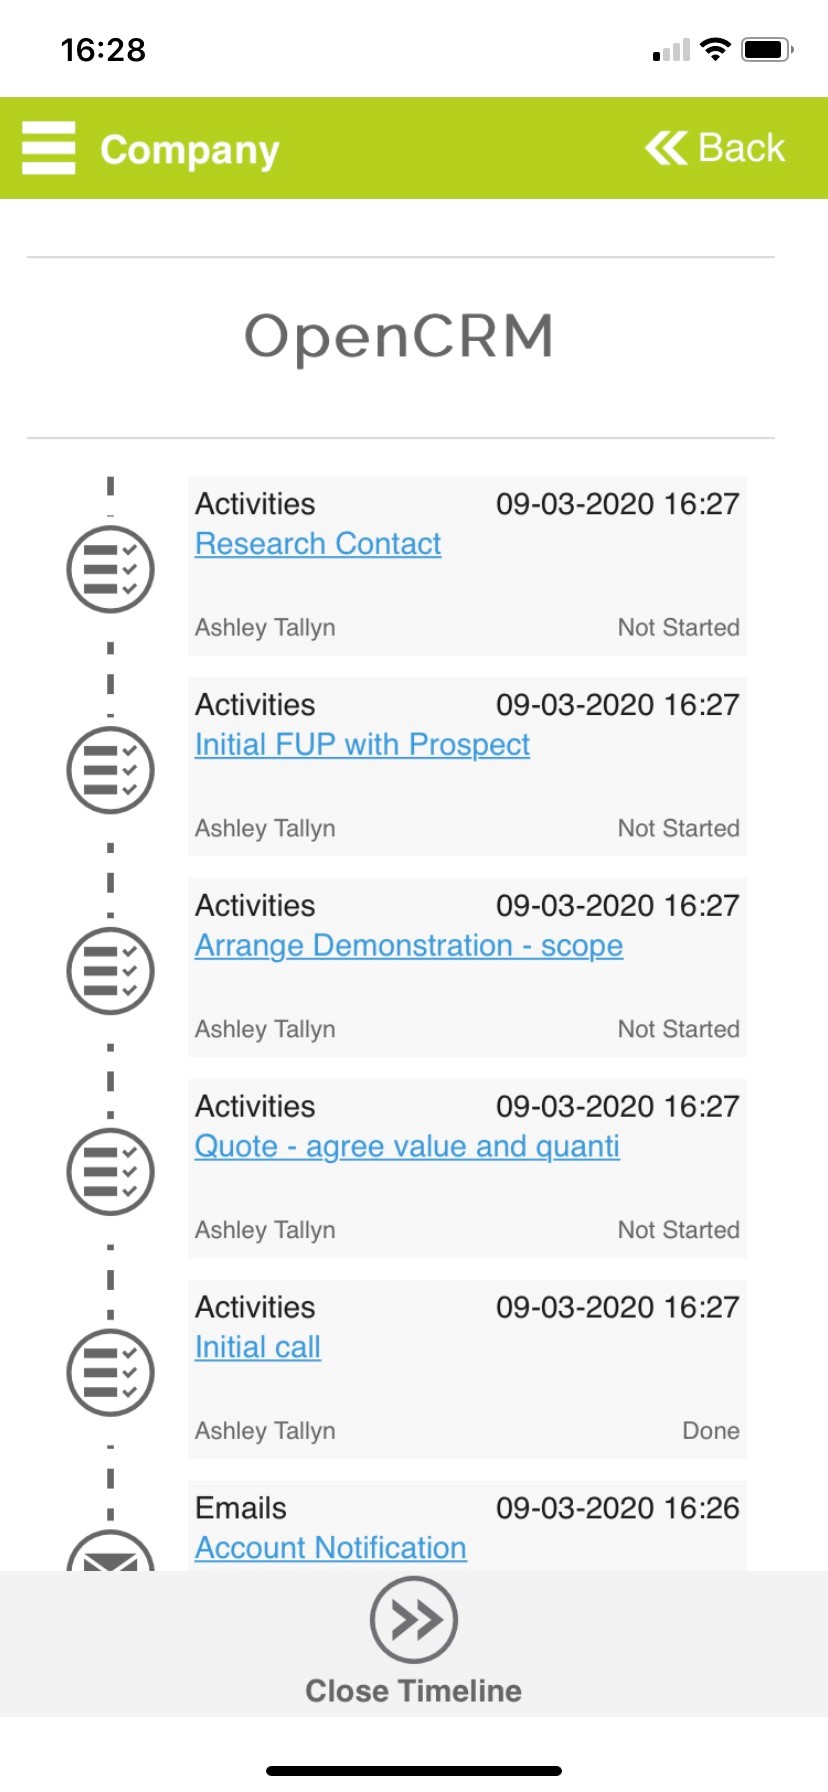
At the bottom of the screen, you will see four icons:
|
|
|
Editing records in the App
You can easily edit and create records in the OpenCRM app and be secure in the knowledge that any of this new information is sent straight back to your team in the office.
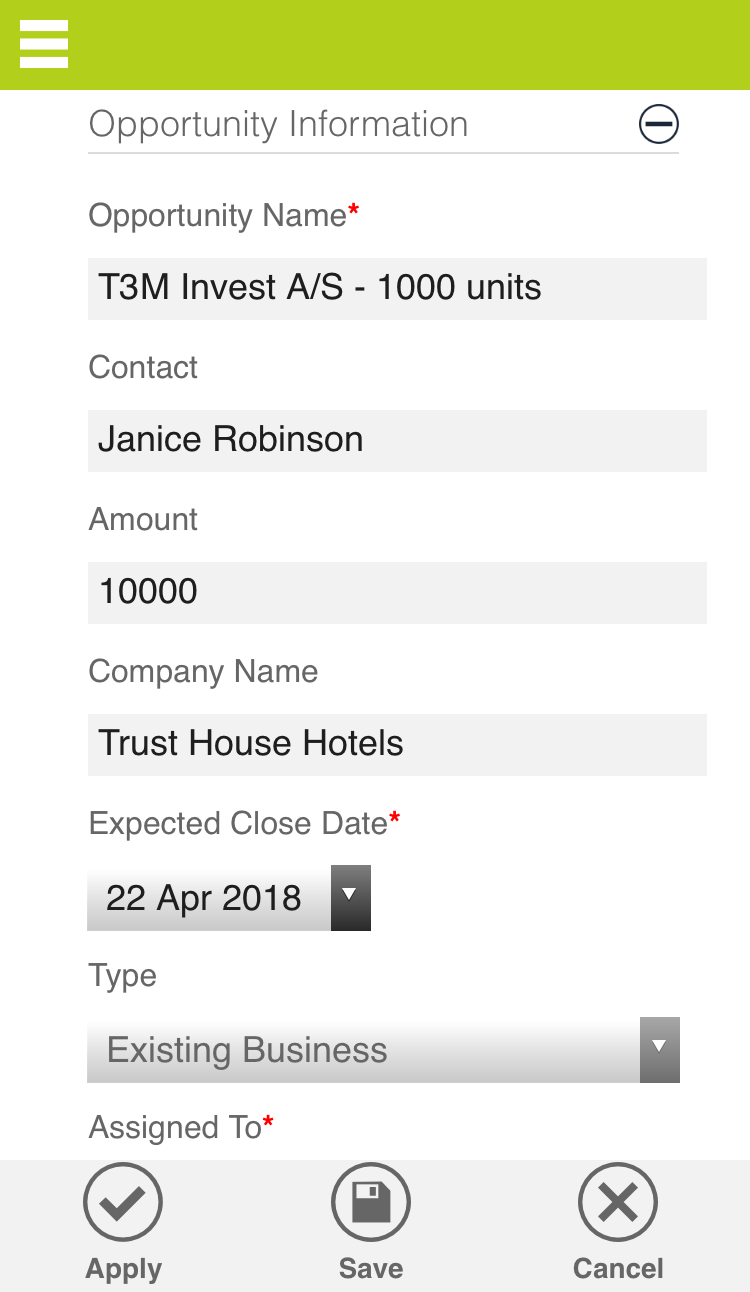 |
The controls of the edit screen are very straightforward, just tap on the field you wish to edit and type in your new data. |
| Date fields or picklists will open menus for you to select the correct information. | |
|
At the bottom of the screen, there are three buttons. These work just as they do when you're using OpenCRM on your computer:
|
|
|
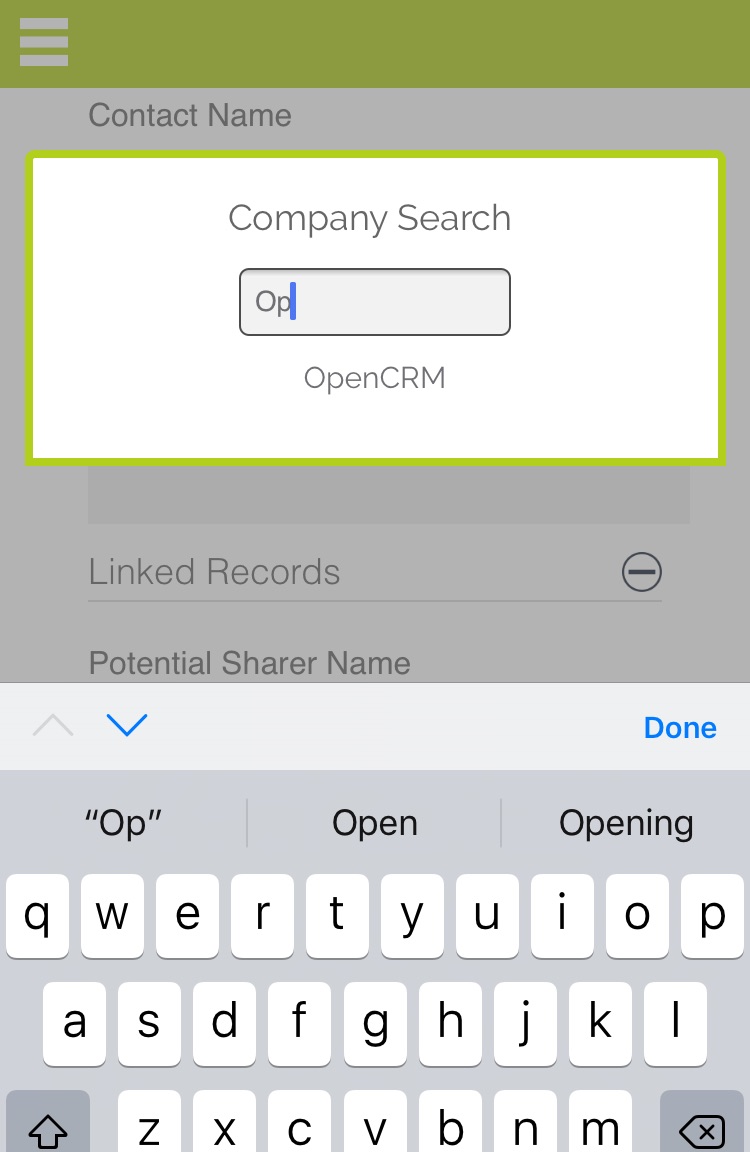
If you want to add a link to another record, in this case, let's say I want to change the Company from "Trust House Hotels" to "OpenCRM", I simply click into the field and it opens a lightbox. When you start typing into the lightbox, you will see the matching results appear below. Just tap the one you want and it will link. |
 |
Field types excluded from the app at present are:
Multi-select
Portal component list
File Upload
Email To/CC/BCC/etc
Spacer
Sage Reference
Map Coordinates
Text area with Show on Portal (Helpdesk)
FAQ List
Time in minutes
Document link
Last X (Last Invoice, Sales Order etc)
Pinterest
Google Plus
Linked User (Multi-select)
Tags
Tickbox with confirmation (e.g. rtbf field)
Password fields
Sales Order Link
Quote Link
Opportunity Link
Supplier (Vendor Link)
Campaign Link
Event Link
Time Since
Need More Help?
If you have any questions, just start a Live Chat, "Click" on the Chat Icon in the lower right corner to talk with our support team.


 and all fields, including blank ones, will be displayed.