You have two options when deciding which fields you want to see in OpenCRM: Customising the Field Access or Layouts.
The second will also allow you to move fields around the screen. You can read more about using Layouts in this FAQ.
This FAQ deals with the first option: Customising Field Access.
This option allows you to choose which fields are visible to your users without having to set or change their location on the screen. You can do this system-wide or by profile.
System-Wide
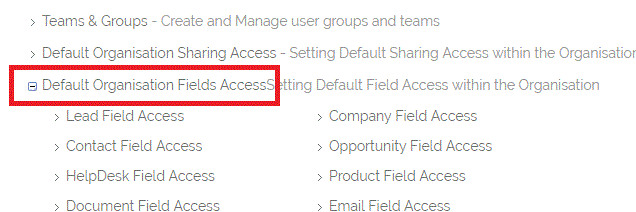
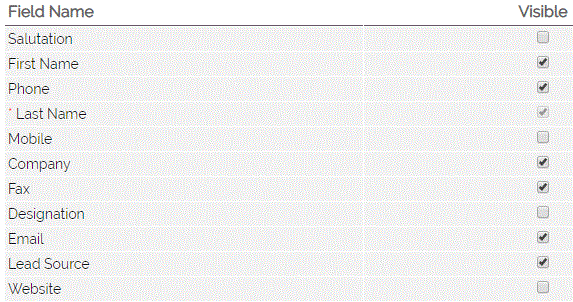
To hide a field from all users of your system, you will need to go to Settings and select "Default Organisation Field Access". From here you will select which module you would like to edit.
Simply untick those fields you do not wish to see and click Update.
Profile Specific
If instead, you wish to hide fields only for certain users, you will need to first make sure these users all share the same profile (or the same set of profiles). You can find out more about setting up and using profiles by looking at this FAQ.
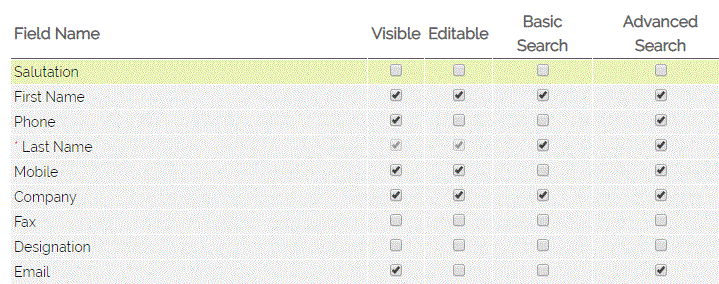
Go to Settings and select "Field Accessibility and Customise Search." You will then need to choose which module you wish to edit.

Then on the next screen, simply untick the fields you don't want them to see and click Update.
You have the option to make certain fields visible but not editable. You can also customise the Basic and Advanced Search options from this screen (find out more about this here).
Screen Design
You can also reposition the fields on screen and adjust the sort order to match your preference. To give you an example:
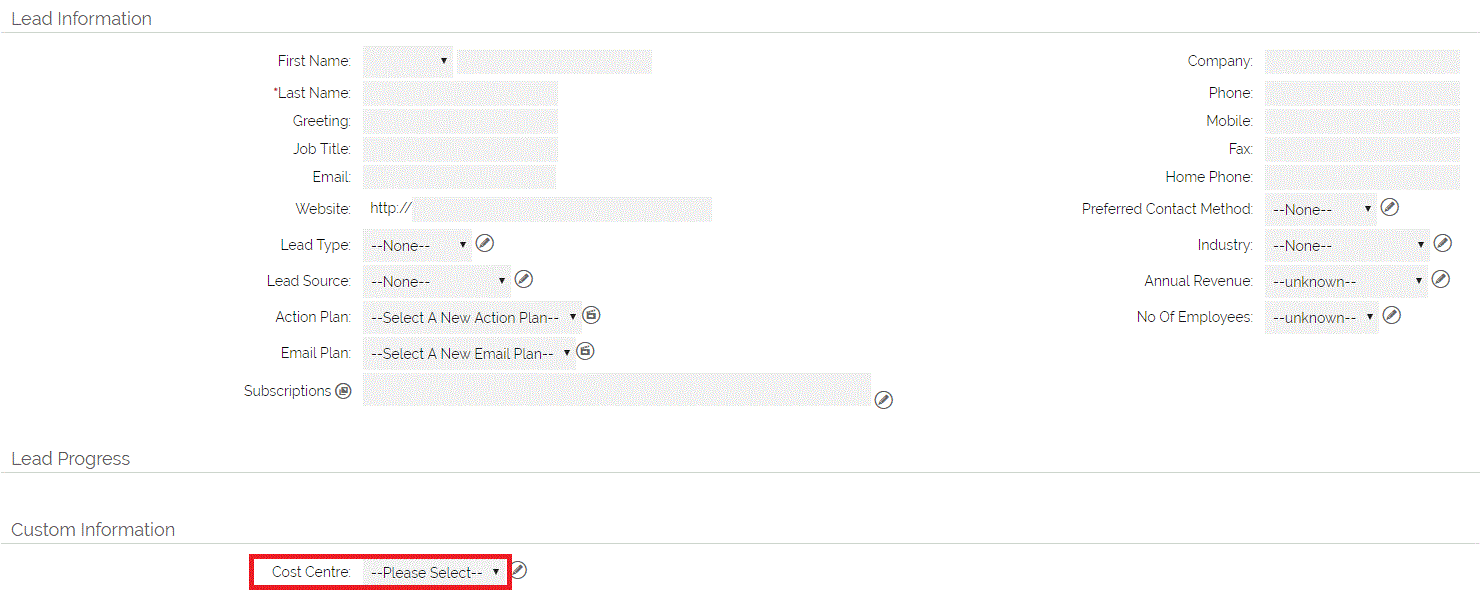
On the Leads module, I have added a custom field called Cost Centre:
But this field is really useful to me, so I would rather see this in the top block, positioned underneath the No. Of Employees field. To do so, go to Settings > Studio > Screen Design > Lead Fields
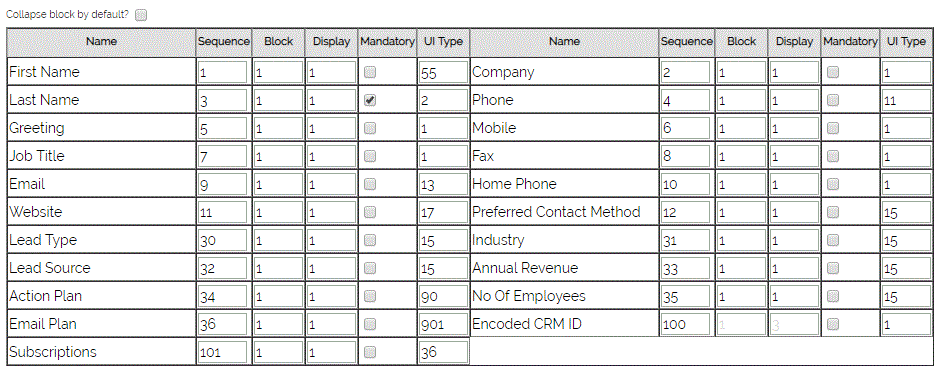
This is the screen design of the top block on Leads: As you can see, the Email Plan field has an ID of 36, so I need to place the Cost Centre field into Block 1 with a sequence number that follows 36.
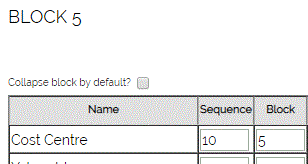
The Cost Centre field can be found in Block 5
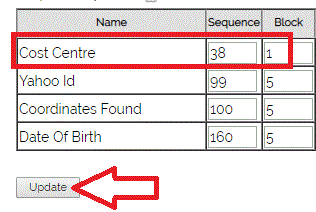
I therefore need to change the Sequence to a number after 36, and the Block to 1 and then hit Update to record the changes:
Note that I have set the Sequence to 38, rather than 37. This extra space means that in future if I wanted to add another field to the screen, positioned between Email Plan and Cost Centre, I can set that other field with the Sequence of 37, and I don't have to reposition any other fields in order to do so.
We can now see that Cost Centre is displaying where we want it to show on-screen:
Two more quick and easy features of the Screen Design page:
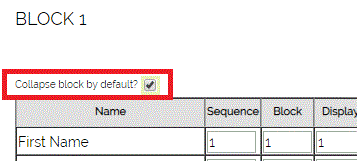
1. If a block of information is less relevant to you, then you can have the block hidden by default. To do so click the Collapse By Default option and click Update:
When you now look at the Leads screen, you can see that the top block is now collapsed, and can be expanded again by clicking the plus icon, or indeed anywhere on the header row:
2. To make any more fields Mandatory, on the Screen Design page, tick the mandatory box for the required field(s) and Update to save changes
Now when you try and save a new Lead record, you won't be able to do so without filling in the Cost Centre field:
Note that if you want to make a picklist field mandatory, make sure that you prefix your list with either "--None--" or "--Please Select--" as these two values act as blank entries.
Need More Help?
If you have any questions, just start a Live Chat, "Click" on the Chat Icon in the lower right corner to talk with our support team.


